We take automated backups that you can restore from directly, yourself, at any time through cPanel.
We offer several restore options.
Restoring Files #
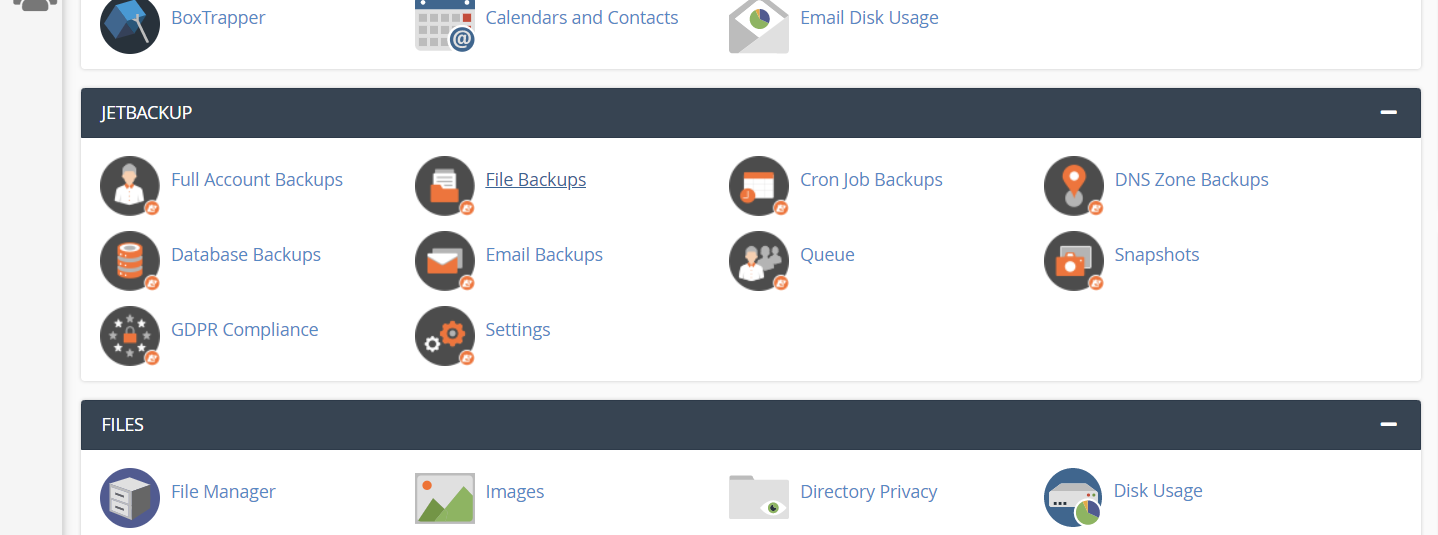
To restore a file or directory, click the File Backup link in cPanel:
Locate the date of the backup you want to restore:
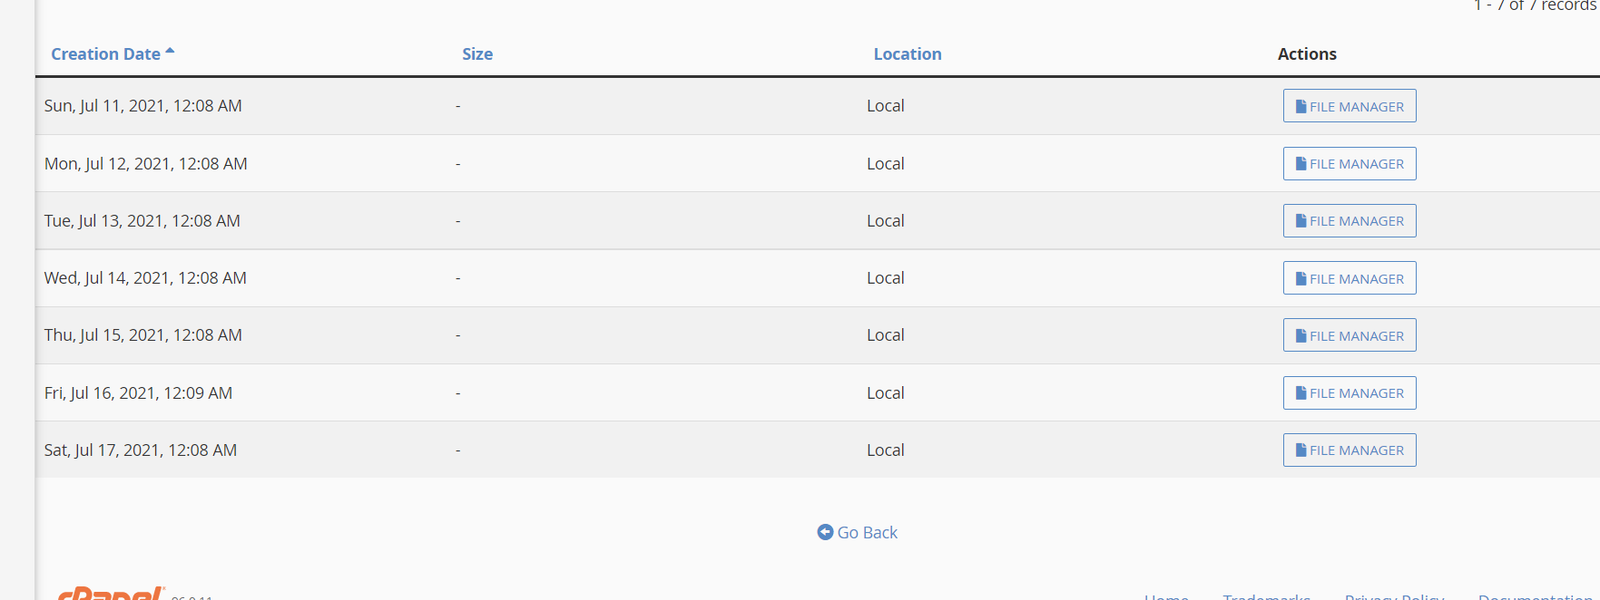
Click “File Manager” to locate the files/directories you want to restore.
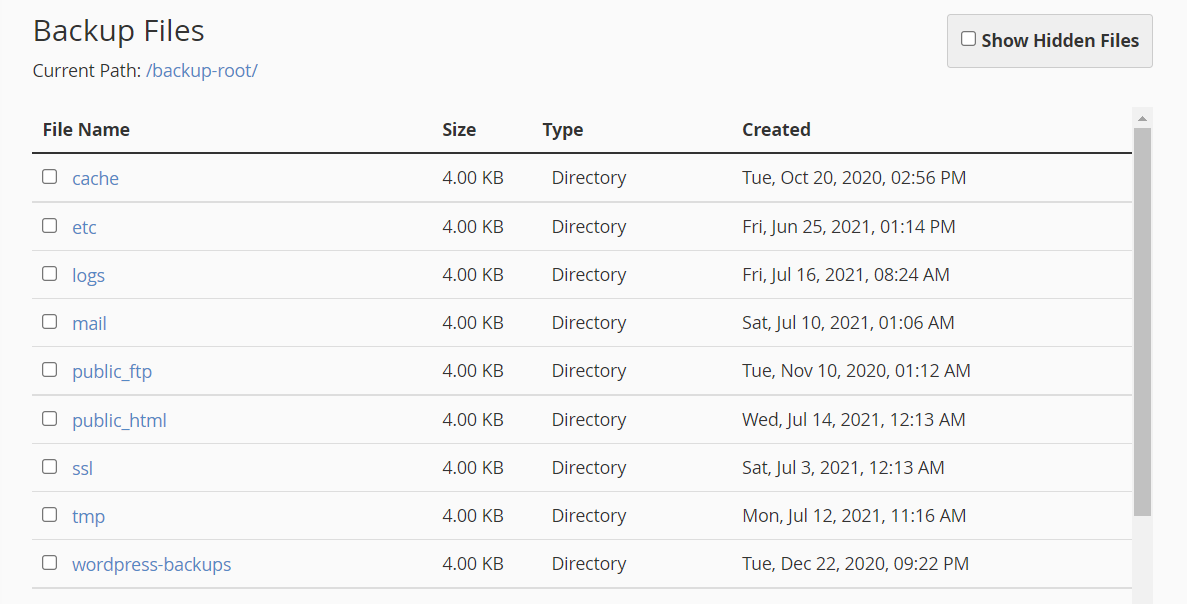
Once you have found them, check them off on the left side, then click “Restore Selected”
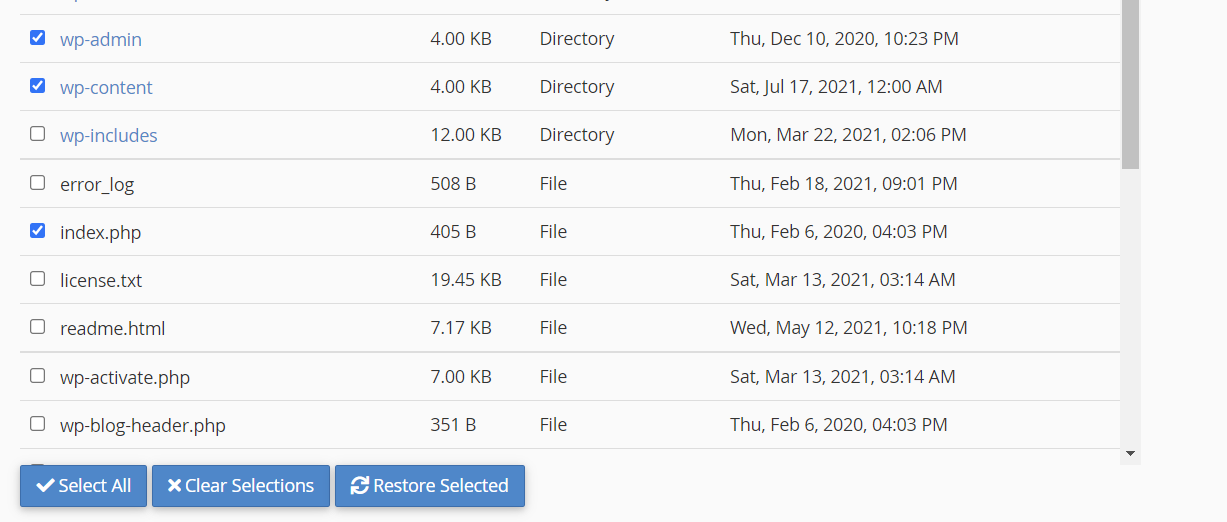
The restore will run in the background and you can see its progress on the right side. Once it has finished, it should say “Finished” or “Success” and the files will have been restored.
Restoring Databases #
To restore a database, click the “Database Backup” link in cPanel
Then locate the name and time of the database backup you want to restore, and click “Restore” and “Add to Restore Queue”

Your backup will now restore in the background.
Restoring a WordPress Install #
We do not backup individual WordPress installs or “domains” separately. However, you can conduct a full restore of a WordPress site by combining the techniques above.
First off, locate the document root of the WordPress install and restore it’s files. In this example, I have WordPress installed on test.example.com and I want to restore that install. To do this, I want to locate the document root for test.example.com.
Click on “Domains” in cPanel, and locate the domain. Make note of the “document root” folder:

Next, follow the steps above to restore a file backup, selecting the document root as the folder you want to restore.

Hit restore, and wait for the backup to restore.
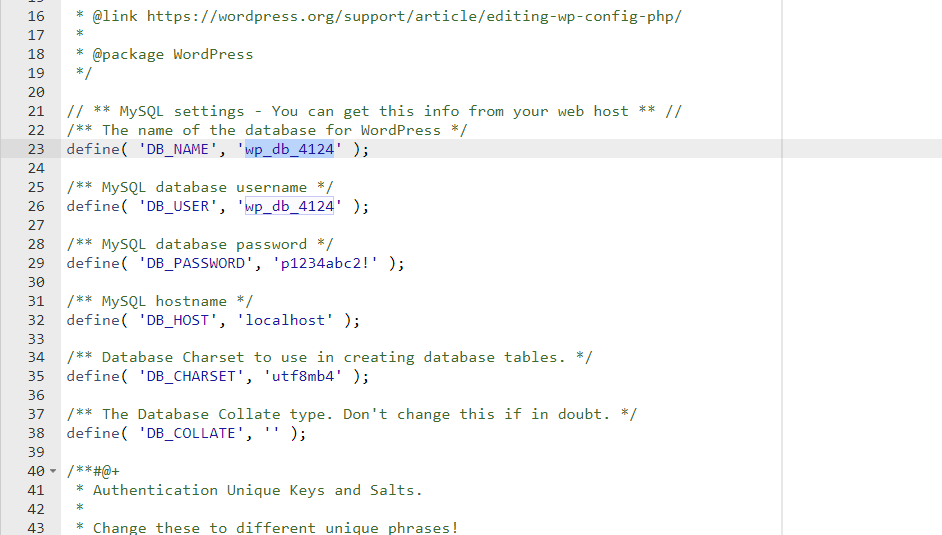
Once the backup has been restored, open the cPanel file manager, go to the document root and look for a “wp-config.php” file. Open this file:

Inside the wp-config.php file, look for a “DB_NAME” line and copy this database name:
Finally, restore this database using the steps above.


