Note: This only applies to the email panel provided by our High Performance Plans.
Webmail #
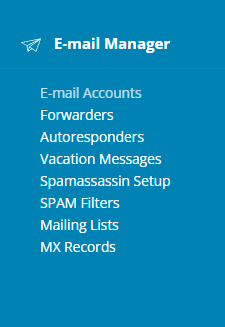
To check your email from webmail, first find the account you want to check under “Email Accounts” in the email panel:

Click on the icon next to the email address:
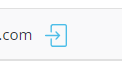
You should be redirected to the Webmail interface.
IMAP/POP3 #
To use a third party client, such as Outlook or Thunderbird, you will need to use IMAP/POP3.
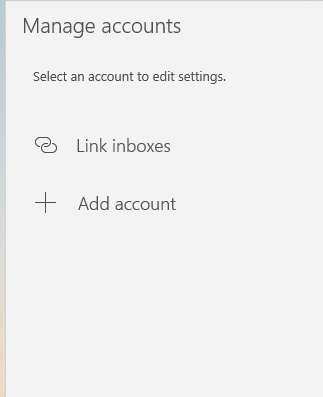
To setup IMAP/POP3, first find the “Add a New Account” option.
For example:
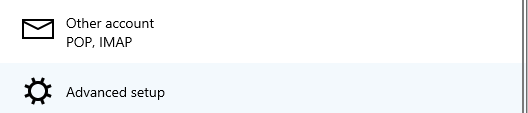
Choose “IMAP/POP3” – or “Advanced Setup/Options” if the former doesn’t work.
Fill out the fields in the following interface:
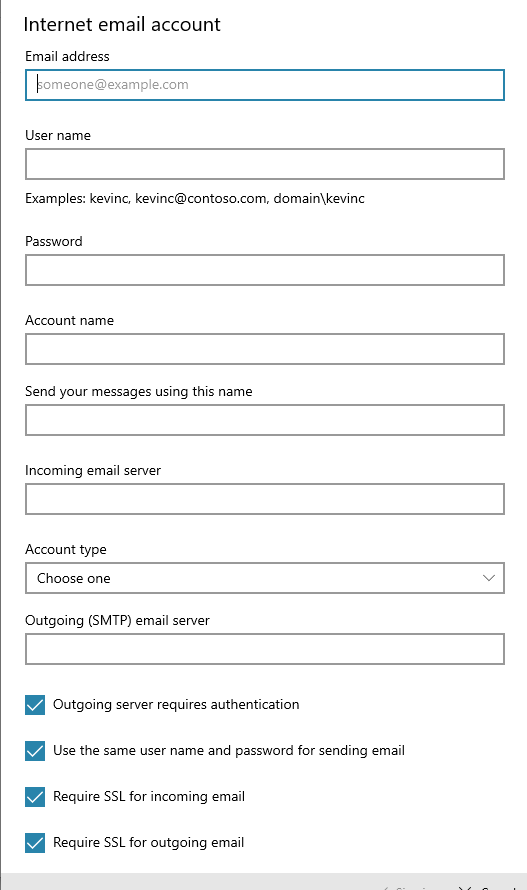
The email address will be the email address of the email account you want to setup.
The username will also be the email address of the email account you want to setup.
The password will be the password of the email account you want to setup.
The account name is Optional and can be any value.
Leave the “Send message as” field blank
The outgoing email/SMTP server will be: mx.cynderhost.com
For account type, when possible, choose “IMAP” (IMAP4) over “POP3”
The incoming email server will be: mx.cynderhost.com
Leave the remaining checkboxes checked. SSL/TLS should be on & used, and authentication should also be used for the outgoing server. Click save, and the account should now be working.


