To set up ads on your site, please get your placement code first. Login to the NitroPay panel at panel.nitropay.com. Then visit https://panel.nitropay.com/ads/placement-builder.
Select the site you want to add ads for. Enter any ID for the placement ID field that you have not used before.
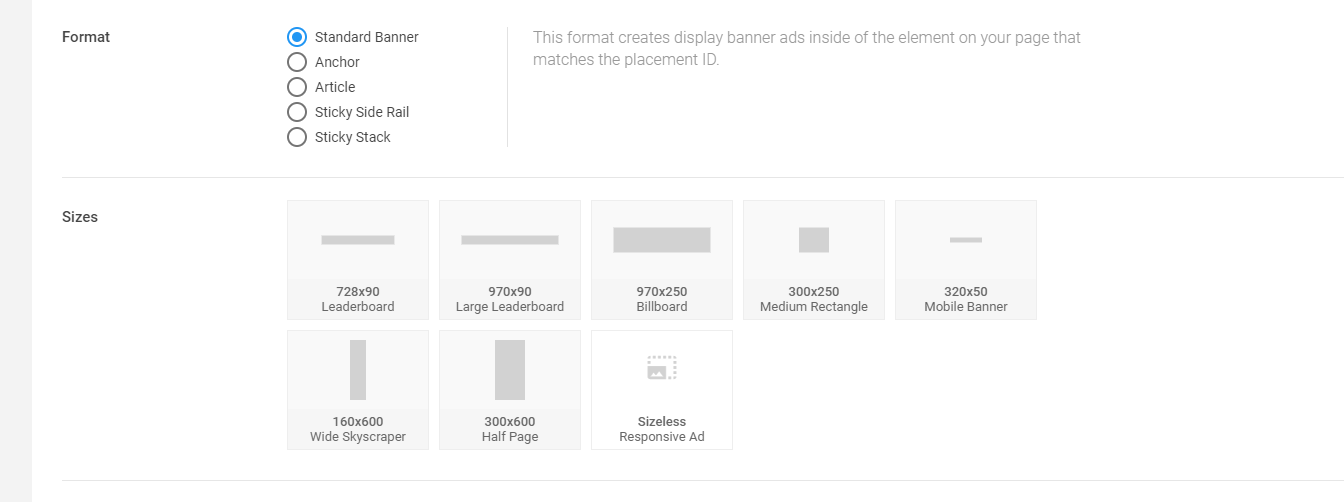
Choose the format you want.
Please see the following demos for the different special kinds of ads.
Anchor, Article, Sticky Side Rail, Sticky Stack
For basic, non-sticky ad units, just choose the “Standard Banner.”
Once you’ve chosen your ad size, configure the other optional settings, including ad refresh time, device filtering, and lazy loading for ads.
We recommend turning on the “Reporting” feature to allow users to report ads they might not like, though NitroPay has extremely stringent processes for vetting advertisers and only allow safe ads.
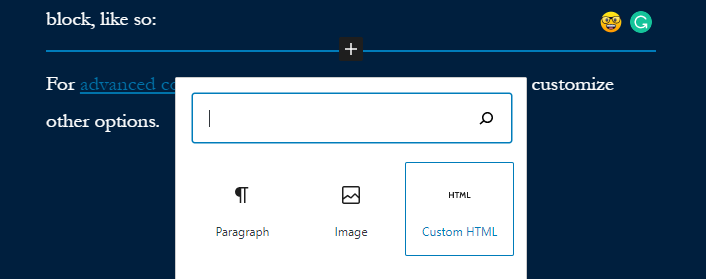
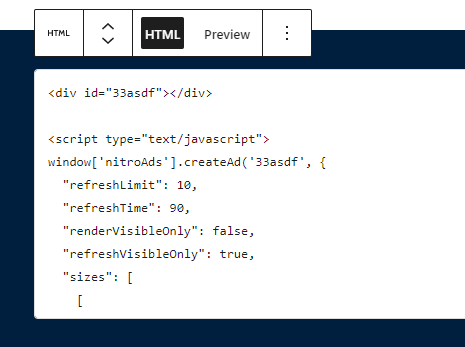
Finally, click the “Get Code” option and copy the code. Paste this into your post directly to integrate ads. For WordPress, use the “Custom HTML” block, like so:
In order for ads to work, you’ll need to add their main script to your header too. Insert the setup code in the <head> section of your theme through a plugin or a child theme. We recommend this plugin.
You can find the setup code under your “Sites” tab, by clicking on the site, going to “Setup Guide” and copying the code there.

Or you can replace the “XXX” in the code below with the ID of your site.
<script type="text/javascript">
window['nitroAds'] = window['nitroAds'] || { createAd: function () { window.nitroAds.queue.push(["createAd", arguments]) }, queue: [] };
</script>
<script async src="https://s.nitropay.com/ads-XXX.js"></script>
After you’ve added this code and the ad unit itself to your page, you should see that ads are starting to show up on your site. If there are any issues, please do not hesitate to contact us and we are happy to resolve them for you.
Happy earning!
For advanced configuration, you can modify the ad code to customize other options.


