To temporarily override the DNS entry for a domain to another IP address locally, you can edit your “Hosts” file.
Follow the instructions for your platform.
Windows #
If you’re on Windows, open up any text editor (Notepad works just fine!) and run it as “Administrator.”
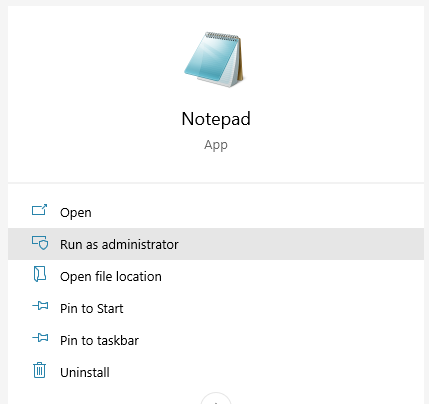
From here, go to the “File” menu in the toolbar and choose “Open”

Once the file browser opens up, click on your main hard drive where Windows is installed, usually C: and navigate to the following file path:
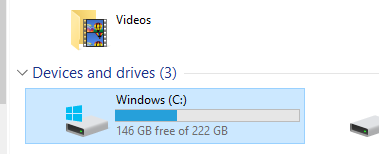
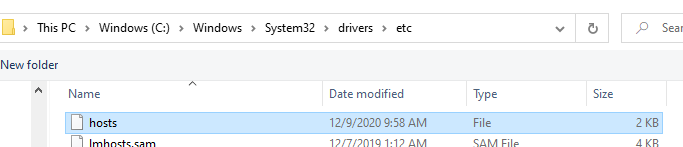
Windows (folder) -> System32 (folder) -> drivers (folder) -> etc (folder)
Make sure you’re showing “All Files”
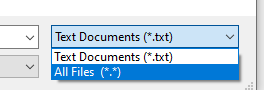
Click on the “hosts” file and hit “Open”
You’ll see something like this:
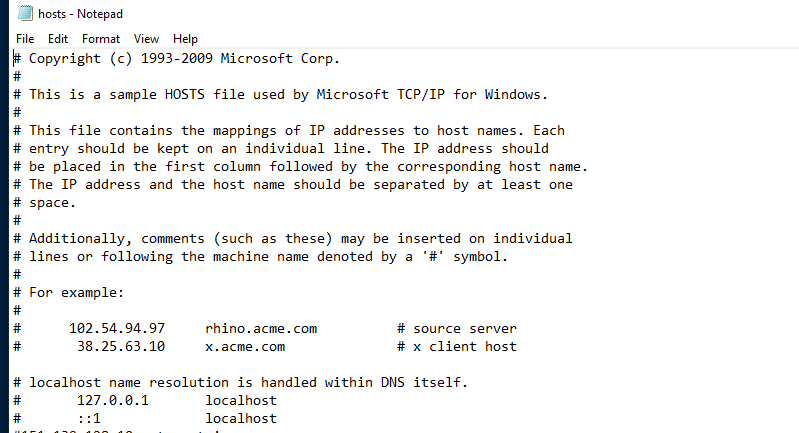
Below the last line, add the entries you’re trying to add. For example:
(ip to override to) (domain to override)
8.8.8.8 google.com
Save the file – if you get a “You don’t have permission” error, start from the beginning and make sure you’re running as Administrator on Windows.
Linux #
If you’re on a Linux-based computer (Ubuntu, CentOS), you’ll follow a similar process.
First, open up the bash terminal if it isn’t open already.
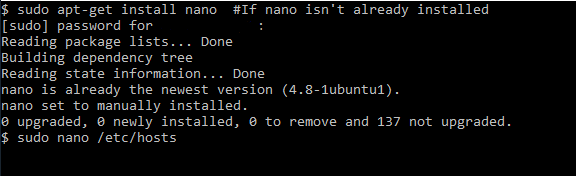
To edit it from CLI or terminal, simply use any text editor, like nano, and open up the /etc/hosts file and add entries below the last line in the following format:
(ip to override to) (domain to override)
Example: 8.8.8.8 google.com
Save the file, and you’re all set!
This file must be edited as the root user, or with root permissions using “sudo”
For example:
sudo nano /etc/hostsMac OS #
To edit your hosts file in an Apple-made Mac OS environment, you’ll also need to open up the terminal.
Once it’s open, you’ll also need root-level permissions, which you can get by appending the “sudo” command to whatever you’re running.
Open the /etc/hosts file using a text editor and add the applicable lines in the same format as above. Save the file and you’re set!
Ex:
sudo nano /etc/hosts


